
TL;DR: To use Figma Make, open your drafts, click Make, describe the app, attach Figma frames for context, then refine with chat, the Edit tool or the code view before you preview, publish to a figma.site URL, copy the result back to Figma Design or download the React code. Full access needs a Full seat on a paid plan, and every prompt spends AI credits, so the first prompt matters most. For multi-screen flows, a lot of teams design the screens first in UXMagic, export them to Figma, and bring those frames into Make.
Figma Make turns a prompt, a Figma frame or a screenshot into a working, interactive prototype, and can go as far as a published web app with a backend. It is easy to open and easy to waste credits in. This tutorial walks through the whole path in order, then covers the habits that keep credit spend down and where UXMagic fits alongside Make.
Every step and UI label here comes from Figma's Make help articles, checked in September 2026. Figma changes Make often, so if a button has moved, the help center is the reference.
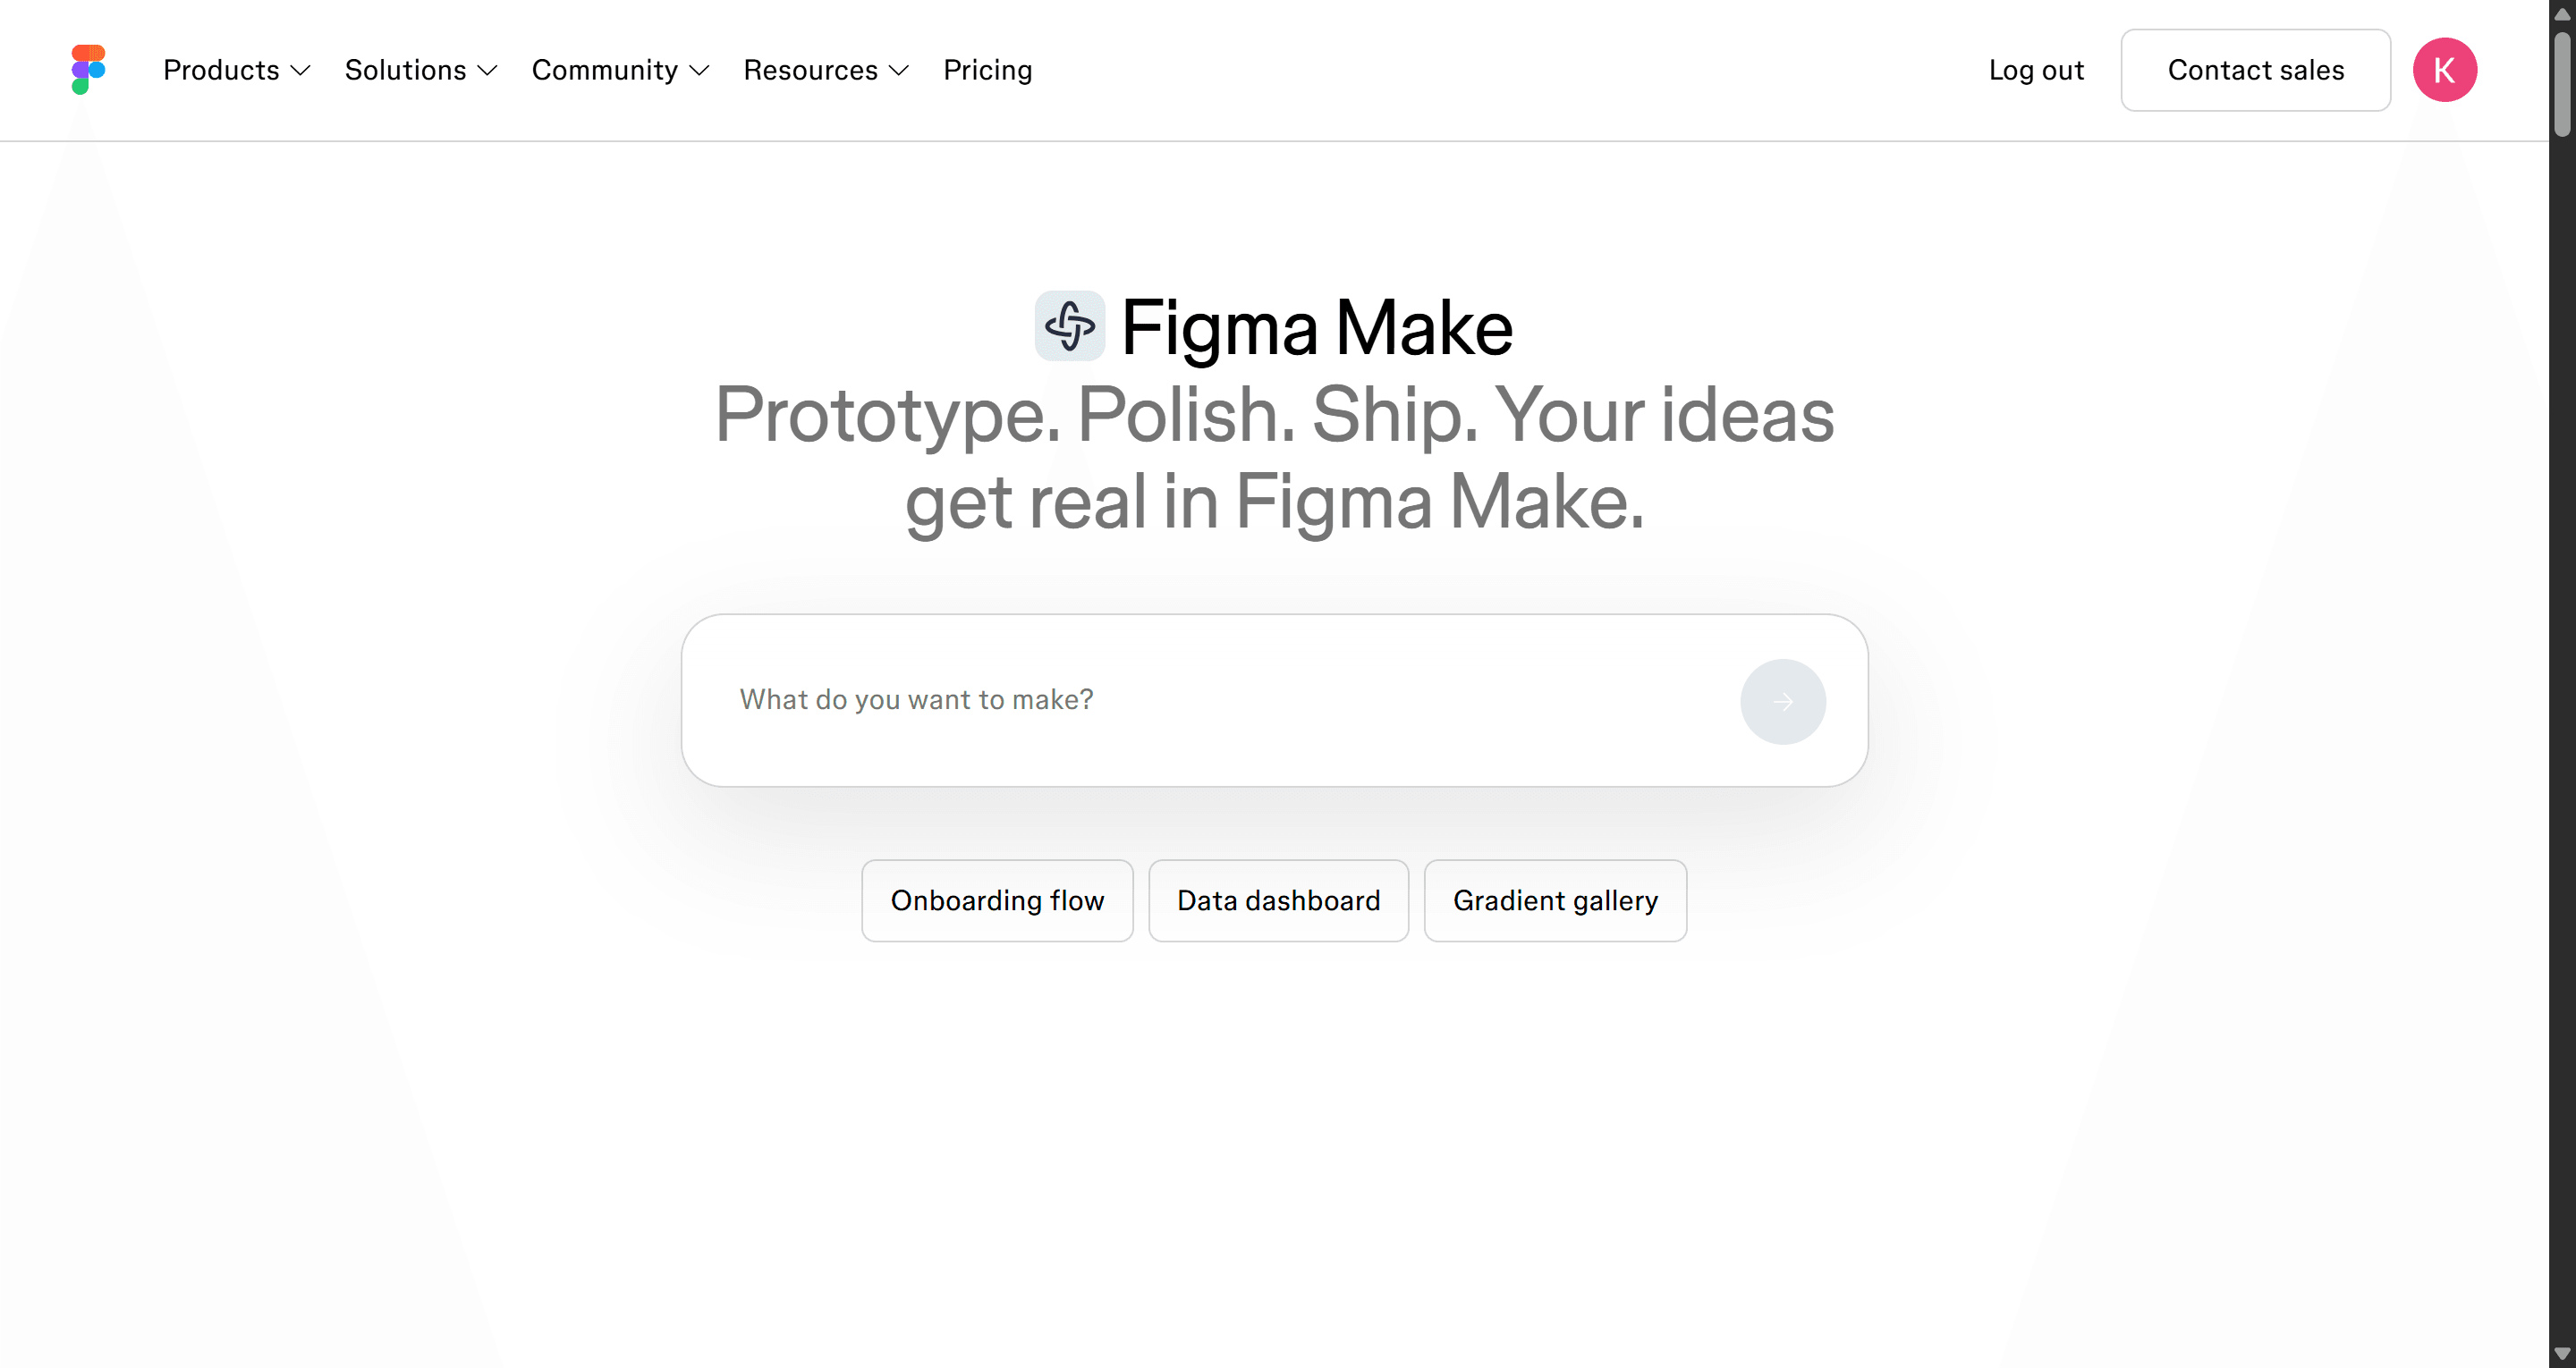
What is Figma Make?
Figma Make is Figma's prompt-to-app tool. You describe what you want in a chat, optionally attach designs, images or files, and an AI agent writes a React app and shows it running in a preview beside the chat. You keep iterating by prompting, by pointing at parts of the preview, or by editing the code.
It is one of several Figma AI features, which our explainer on what Figma AI is covers, and is closer to prompt-to-app builders than to Figma Design: code first, design layers second. If you want the vocabulary straight, our guide to wireframe vs mockup vs prototype explains where a Make prototype sits.
Figma Make at a glance
| Question | Answer (September 2026) |
|---|---|
| Who gets full access | Full seats on paid plans |
| Who can try it | Starter plan, and Dev, Collab and View seats (drafts only) |
| What it costs per prompt | AI credits, roughly 30 to 100+ per request |
| What it builds | Interactive React and TypeScript apps |
| AI models | A choice of Google, Anthropic and OpenAI models |
| Design system support | Make kits: npm package, library styles and variables, guidelines |
| Backend | Supabase integration |
| Ways out | Publish to figma.site, Copy design to Figma Design, Download code, push to GitHub |
Who can use Figma Make: seats, plans and credits
Figma doesn't sell Make on its own. Access comes from your plan and seat type, and usage is metered in AI credits.
Full seats on paid plans get everything: creating Make files in team folders, sharing, publishing, the code editor and exporting code. On Professional that seat costs $16 a month billed annually and includes 3,000 AI credits a month; Organization and Enterprise Full seats include 3,500 and 4,250.
Dev, Collab and View seats on paid plans can create Make files in drafts and try features such as attaching designs and point-and-edit, but can't create files in team folders, share or publish.
The Starter plan gets trial access. Starter users can't bring style context in from team libraries, and can only publish to the public web if they also publish to the Figma Community. AI credits on Starter are capped at 150 a day and 500 a month, which covers only a handful of Make prompts.
Education: Make is available to higher education and bootcamp accounts, not to K-12 Education users.
Figma's help center puts a Make request at about 30 to 100 or more credits, so a Professional Full seat's monthly allowance covers roughly 30 to 100 prompts. Credits reset monthly, don't roll over, and have been enforced since March 2026. Our Figma pricing guide walks through seat costs, add-on credit packs and real team scenarios.
Before you start: a five-minute checklist
A little preparation saves more credits than any prompt trick.
- Know your balance. Figma's own credit guide recommends checking it before a session so you make more deliberate choices.
- Write down the screens. List every screen and how a user moves between them, with usability basics like the laws of UX in mind.
- Pick your references. Figma frames are better context than screenshots, because frames carry structured design data.
- Strip sensitive data. Figma asks you not to paste API keys, personal data, addresses or ID numbers into prompts.
If you haven't mapped the flow yet, do it first. Our guide to prompting for user flows, not screens explains why a list of screens gives any AI tool a better start than a description of one.
Step 1: Create a Figma Make file
- Open the Figma file browser and go to your drafts.
- In the upper-right corner, click Make.
- The new file opens with an AI chat on one side and a preview area on the other.
You can also start from a Figma Make template instead of a blank file, or duplicate an existing Make file. Duplicating costs no credits, which makes a good starting file worth keeping.
The chat is where you prompt and attach designs; the preview is the live app, and also holds the code view.
Step 2: Write your first prompt (and consider plan mode)
Type your prompt in the chat's text field, or dictate it, and click Send.
The first prompt does most of the work. Figma's advice is simple: be specific, because specific prompts give the model fewer chances to assume. Cover:
- what the product is and who uses it;
- every screen, in order, with its purpose;
- how screens connect (which button goes where);
- the visual direction: colours, type, density, light or dark;
- which interactions must actually work (tabs, forms, filters, modals).
A prompt shaped like this works well:
Build a habit-tracking app for busy parents. Screens: Today (list of habits with checkboxes and a streak count), Add habit (name, icon, frequency, reminder time), Habit detail (calendar of completions, edit and delete), and Settings. Bottom tab bar for Today, Stats and Settings. Calm, rounded UI with a soft green accent, large tap targets and a light theme. Checking a habit should update the streak immediately.
Plan mode is worth using for anything bigger than a single screen. Open the mode dropdown in the prompt box and choose Plan, or type /plan. Make reviews your prompt, attached designs and existing code, asks clarifying questions, and writes a structured plan to a plan.md file you can edit. When the plan is right, click Build. Plan mode is paid-plan only, uses more credits than build mode, and doesn't run on Gemini models, but Figma notes the extra cost is usually far less than correcting a build that went the wrong way.
Our guide to prompting for UI that ships has more prompt structures that transfer directly to Make.
Step 3: Attach frames, designs and other context
Make works better when it can see what you mean.
- Attach Figma designs. Click + in the chat, then Add context, and paste a design URL. You can add more than one design.
- Paste frames directly. Copy a frame or component in Figma Design and paste it into the chat.
- Attach images and files. Screenshots, text files and other documents all work as context. A written spec or a DESIGN.md file is a compact way to hand over rules.
- Pull outside context. Make can search the web, fetch a URL's content, and read from other tools through MCP connectors.
Figma's advice: prefer frames over images when accuracy matters, and don't repeat in the prompt what an attachment already says, since redundant context costs credits. When pixel-perfect fidelity isn't the goal, a screenshot is cheaper context than a frame.
Step 4: Bring your design system with Make kits
Out of the box, Make picks its own styles. If you need output that looks like your product, set up a Make kit.
A Make kit bundles three things:
- an npm package of your design system's code components;
- styles and variables from a published Figma Design library;
- guidelines, usually a
Guidelines.mdfile, telling Make how and when to use the assets. Make can read your package and draft guidelines for you.
Make kits are available to Full seats on paid plans, and private npm packages need an Organization or Enterprise plan. To use one, open a Make file, go to the prompter, click Select a Make kit and pick one or more kits from the list.
If your design system isn't documented well enough to write guidelines, our playbook on building a design system from scratch is the place to start.
Step 5: Choose the AI model
The model name sits in the chat box. Click it to open the list and choose a model for the next prompt; you can switch at any point in a conversation. The list currently includes Gemini, Claude and GPT models, and Figma changes the default over time.
Credit use differs by model, and Figma warns that some models use substantially more credits than others for the same task. Its own recommendation is to use Gemini Flash for straightforward tasks, as the most credit-efficient option, and save heavier models for complex builds.
Step 6: Edit and iterate
Once the first version appears, you have four ways to change it.
Prompt in the chat. Best for structural work: a new screen, new logic, a changed layout. Proposed changes show above the prompt box before they are applied.
The Edit tool. Click Edit in the upper-right corner to open a Figma Design-style properties panel over the preview. Point at an element and change colour, padding, margins or text styling, then click Apply so the agent writes those changes into the file.
Draw and annotate. Mark up the preview by drawing on it and click Add to prompt, or drop annotations on the rendered UI and submit them together as one prompt.
Edit the code. Click Code at the top of the file to open the code editor, where the main file is App.tsx. You can edit, write or paste code; checkpoints let you revert to the version from the latest conversation step. Code editing is for Full seats on paid plans.
Figma's docs disagree slightly on credits: the credit guide lists point-and-edit adjustments and direct code edits as free, while the editing article says properties-panel and annotation changes use AI credits. Direct code edits are the safest free option; watch your balance after Edit-tool changes.
Every edit, by you or the AI, creates a new version. From version history you can preview, name, favourite or restore any earlier version, so experimenting is low risk.
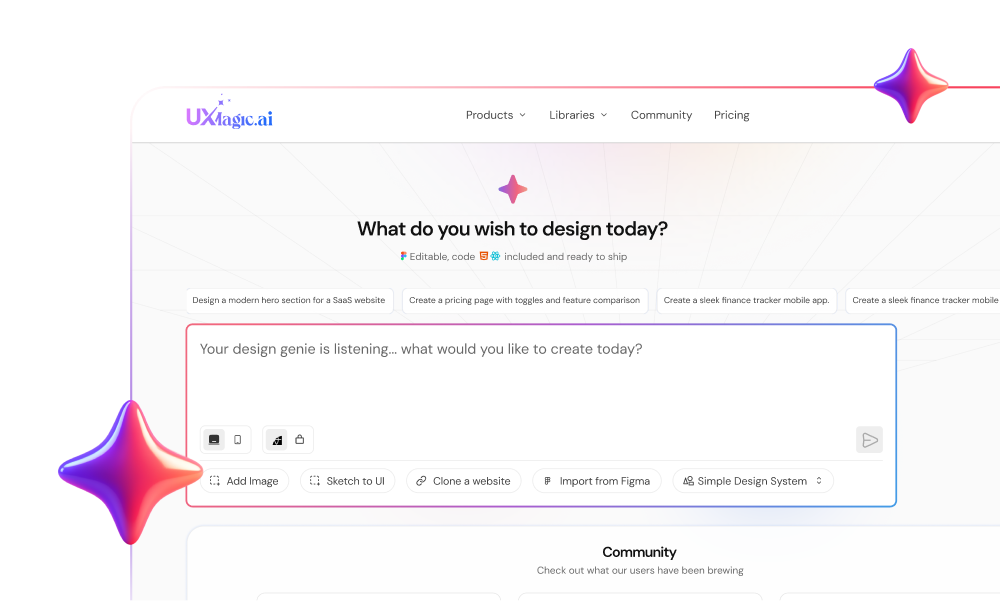
Design the whole flow before you prototype it
Describe your product in UXMagic, approve a screen plan, and get every screen on one shared theme, ready to export to Figma.
Step 7: Preview and test
The preview is fully interactive, so test it like a user: every button, form, empty and error state.
- Open preview in a new tab (upper-right) gives you a full-screen version.
- Mobile Preview lets you pick a device or enter custom dimensions.
- Share, in the full-screen preview, opens a modal where you set permissions, invite people and copy a link.
Only Starter users and Full seats on paid plans can share previews. Our roundup of the best prototyping tools of 2026 compares how other tools handle test links.
Step 8 (optional): Add a backend
If the prototype needs to remember things between sessions, such as sign-in, saved form data or stored content, Make integrates with Supabase. Ask for it in chat ("add user sign-in"), or go to Make settings > Integrations > Supabase > Connect.
Limits: backends are for Full seats on paid plans, a Figma team can connect only one Supabase organization, and Figma says Make won't set up a full SQL database, only basic key-value storage.
Step 9: Publish your app
- Click Publish in the upper-right corner.
- Give the app a title in the modal.
- Optionally adjust options in Make settings.
- Click Publish.
The app goes live at an automatically generated address in the format three-random-words.figma.site. You can connect a custom domain (limits are shared with Figma Sites and depend on your plan) and set a password of at least four characters. To push changes live, repeat the flow and click Update; to take it down, open Make settings and click Unpublish, and republishing later reuses the same URL.
Figma's publishing article has the full options, including Community publishing.
Step 10: Copy the result back to Figma Design
When a teammate wants to refine the visual design, bring the preview into Figma Design:
- In the Make file, navigate to the state you want, such as a specific page.
- Click Copy design at the top of Figma Make and wait for the conversion.
- Open or create a Figma Design file, optionally add a library with variables, and paste.
The layers are editable and Make matches available variables, but they are a static snapshot: no interactions, no automatic link to your design system, and no live connection back to the Make file. Changes you make in Figma Design won't reach the prototype. Figma's Copy design article lists the details. Copying is available on paid plans.
Step 11: Take the code
There are two ways to hand code to engineers:
- Download code. In the code editor, click Download code in the upper-right corner to get a .zip of every file. Full and Dev seats can view and download.
- Push to GitHub. Open Make settings > GitHub, choose Create Repository the first time, then Push to... for updates. The sync is one-way: edits made in GitHub are overwritten by the next push, each Make file gets its own repository, and pushes go to the default branch.
Treat the code as a starting point. Our guide to AI design-to-code tools covers what engineers usually need to change before AI-generated front ends are production-ready.
How to save Figma Make credits
Most of these come straight from Figma's credit best-practices article; the rest follow from how the tool charges.
- Invest in the first prompt. Clear first prompts need fewer corrections, and corrections are where budgets go.
- Use plan mode for complex builds, build mode for small changes. Planning costs more up front and less overall on big jobs.
- Make small visual fixes by hand. Change a colour or spacing in the code view rather than prompting for it.
- Ask for one change per prompt. Stacked requests are easier to misread and harder to roll back.
- Match the model to the task. Figma names Gemini Flash as the most credit-efficient choice for straightforward work.
- Scope context. Don't repeat the same rules across guidelines, npm packages and prompts.
- Reuse foundations. Make kits, guidelines files and templates stop you rebuilding the same base in every file.
- Duplicate, don't restart. Duplicating a good file costs nothing. If simple prompts start costing far more than they should, start fresh from a duplicate or clear the chat context.
- Let the free fixes work. Error correction such as Fix for me doesn't cost credits.
Figma Make limitations to know
Make has clear edges:
- Credit-heavy. At 30 to 100+ credits a request, heavy users outgrow a Full seat's allowance and need add-on credits.
- Full access is gated. Sharing, publishing from team folders, code editing and Make kits all need a Full seat on a paid plan.
- Output drifts toward generic unless you supply frames, a Make kit or detailed guidelines.
- Design round-trips are one-way. Copy design gives a static snapshot, not a linked, auto-updating design file.
- The backend is basic. Supabase key-value storage, one organization per team, no full SQL setup.
- No analytics or SEO controls. Figma's FAQ says Make has no analytics dashboard and no specific SEO customisation.
If some of these rule Make out for your project, our Figma Make alternatives guide groups ten other tools by use case, and our guide to AI app builders for non-developers covers tools that go further on backends.
When to use UXMagic alongside Figma Make
Make is strongest at turning a known design into something clickable. The step before, a consistent set of screens as clean, editable Figma files, is what UXMagic is built for.
Design multi-screen flows first
Describe the product and Flow Mode proposes a screen plan, a named list of screens with a purpose each, that you can edit or reject before anything is designed. Once you approve it, every screen is designed on one canvas with a shared theme and navigation. The screen plans help article explains the flow. This avoids the problem our post on why single-screen AI design is a dead end describes: screens that each look fine and don't belong together.
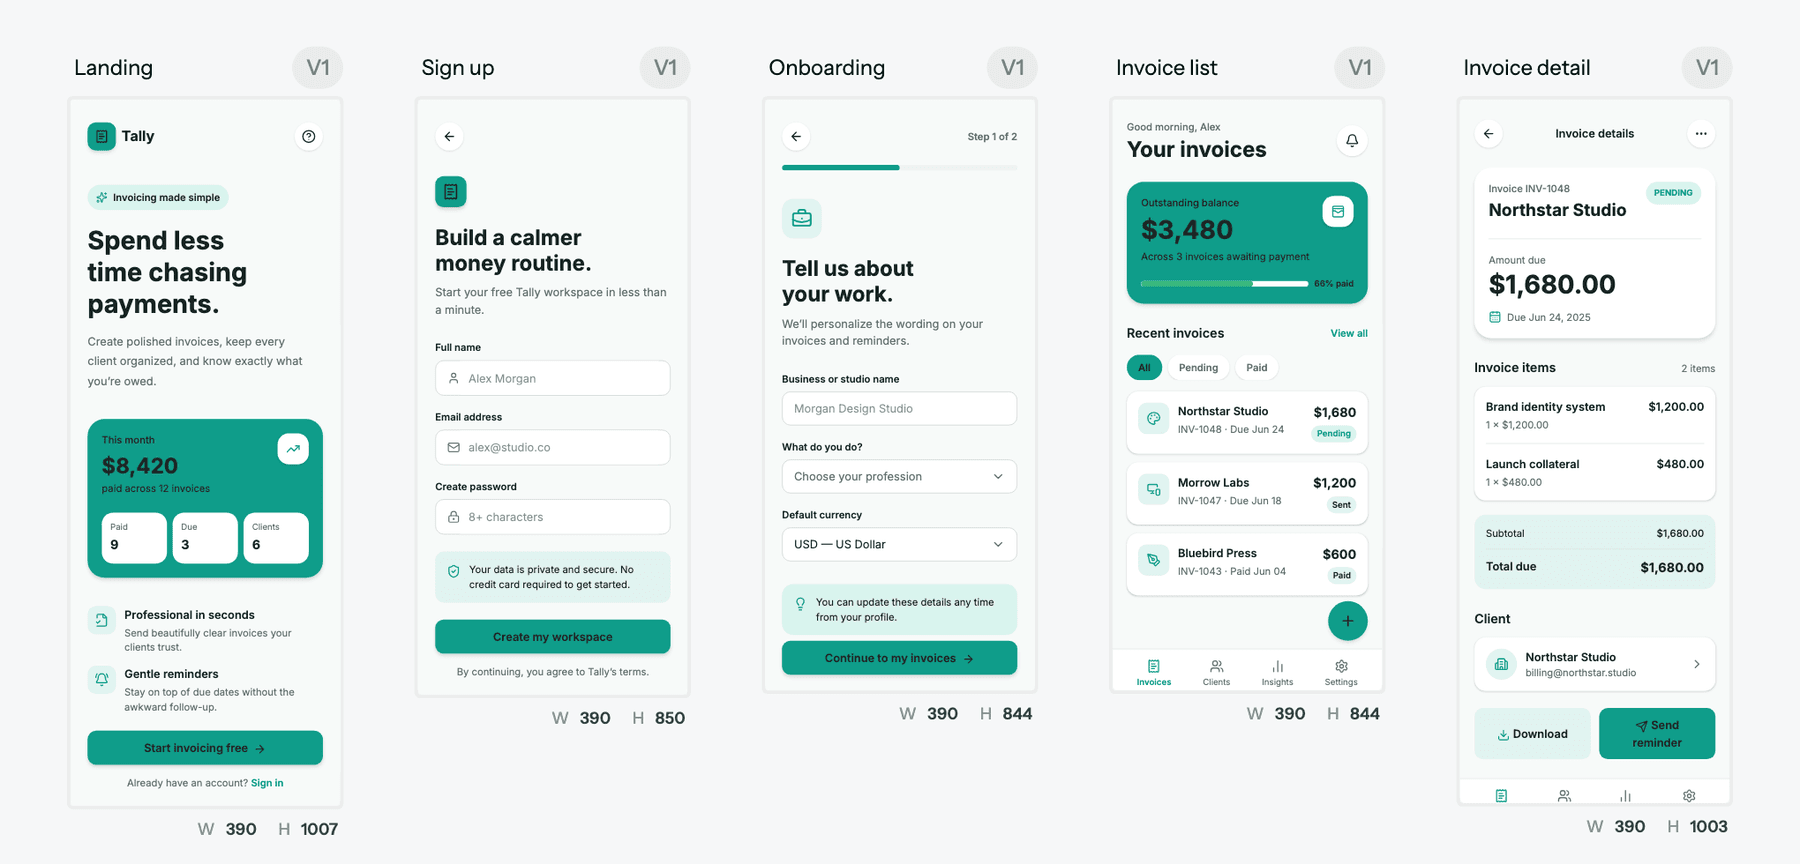
Need to settle structure before visuals? Start with the AI wireframe generator; our comparison of low-fidelity vs high-fidelity design explains when each is worth it. Have a sketch or a screenshot? Image to UI turns it into an editable screen.
Export to Figma with auto-layout
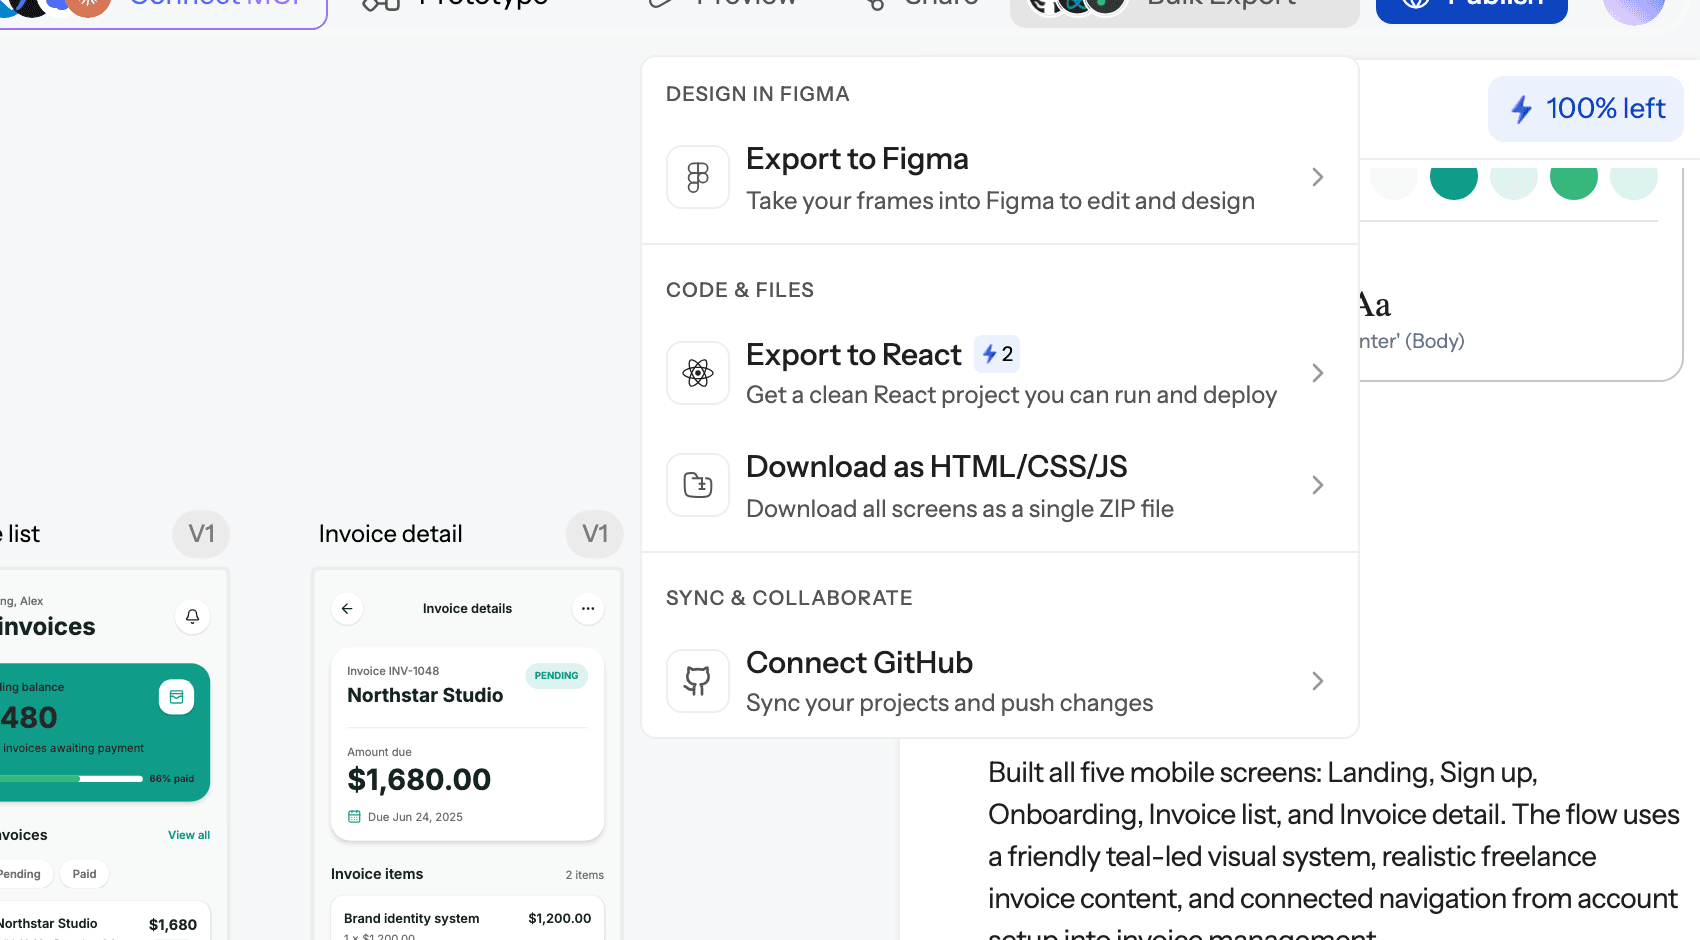
UXMagic exports screens to Figma as auto-layout frames with editable text, real fills and named layers, so designers get a file they can work in rather than a flattened snapshot. The export to Figma guide shows the steps, and the UXMagic Figma plugin generates UI from a prompt, a URL or a screenshot without leaving Figma.
Those exported frames are exactly what Figma recommends attaching to a Make prompt. So the combined workflow is:
- Plan and design the flow in UXMagic, where a new screen costs 3 credits, a targeted edit 0.2 and theme changes nothing, per our credit cost table.
- Export the screens to Figma as auto-layout frames and refine them there.
- Attach those frames to your Figma Make prompt, so Make spends its credits on interaction and logic rather than guessing at layout.
- Test with the preview link, then download or push the code and pair it with the Figma file. Our explainer on what a design handoff is covers what engineers need beyond the code.
Our guide to designing UI with AI goes deeper on the first two steps, and our piece on vibe designing explains why design-first beats prompting straight to code.
Import from Figma to extend a flow
It works the other way too. Import from Figma brings an existing frame into UXMagic by link, keeping its auto-layout, text styles, colours and images, and can use the frame's styles as the project theme. Then you generate the missing screens in the same style. The import from Figma help article covers it step by step. If your source is a live site rather than a Figma file, HTML to design converts a URL into editable layers.
When you don't need Make at all
Sometimes the prototype is the deliverable. UXMagic's AI prototype generator links screens into a clickable prototype, the design to code generator exports HTML or React with Tailwind, and the UXMagic MCP server lets Cursor, Claude, VS Code and other coding agents read your screens and theme directly. You can also publish a site straight from the canvas, as our guide to publishing your first site shows.
Where UXMagic is not the right tool: it doesn't give you Make's Supabase backend or its Make kits built on your own npm package, and it is not a replacement for Figma Design's detailed editing. Our UXMagic vs Figma AI comparison sets out the split in more detail.
Final thoughts
Figma Make is a fast way to turn a design into something people can click. The skill is spending credits where they count: a precise first prompt, real frames as context, hand edits for small fixes, and plan mode for complex builds. At the front of the process, design the flow in UXMagic on one theme and export it to Figma to give Make a head start. The UXMagic free plan refreshes 20 credits every day with one Figma export and no card, and Pro is $35 a month or $17.50 a month billed annually; full details are on our pricing page. For how Make compares with the wider field, see our ranking of the best AI design tools in 2026.
Related guides
- Figma Agent Review 2026: What the Beta Does, Costs and Misses
- Lovable vs Bolt in 2026: Which AI App Builder Fits Your Project?
- Figma vs Canva in 2026: Which Design Tool Fits Your Work?
- Base44 vs Lovable (2026): Which AI App Builder Fits Your Project?
- Figma Dev Mode Alternatives in 2026: Handoff, Code and MCP Tools
- Best Figma AI Plugins in 2026: 12 Picks for UI, Assets and Code
- Base44 Pricing 2026: Plans, Credits, and What an App Really Costs
- MVP Design: How to Design a SaaS MVP Users Actually Adopt (2026)
- 10 Best Magic Patterns Alternatives in 2026, Grouped by Workflow
- 9 Best UX Pilot Alternatives in 2026, Grouped by Use Case
Give Figma Make a head start
Generate connected screens in UXMagic for free, export them to Figma as auto-layout frames, and attach them to your next Make prompt.